About Me

My photo
TARZANA, CA, United States
Hello food, wine & beer pals! Welcome to my photo-journal of food, wine and beer adventures. I'm pictured on the right and my home brewing pal, Aron is on the left. Years ago I started watching the Food Network, saving recipe's, making recipe's, trying new things, tasting new things, and it's all blossomed from there, including the weekly tastings (beer & wine) at BevMo. I'm hooked on variety and continuing my search for tasty goodness all over the world. Please feel free to email me with comments and ideas at FoodieWinonBrew@yahoo.com Bon Appetito!

Tuesday, February 8, 2011

HOMEBREWING FOR BEGINNERS PART 2

After the mini-mashing step is complete, the product is brought to a boil on the turkey fryer. We are about to add something called “wort” in homebrew terminology, its also referred to as malt extract. There is a whole process that is followed to get to the “wort/malt extract” stage that takes a few hours, but most home brew shops carry the finished product, cutting your brew time considerably. The finished product looks like honey. In the silver packet (pictured below) is the wort, and to soften the thick texture up for better assimilation to the sparge water, Aron is running hot water on it. The kettle is then turned off its boil to add the wort. If the wort is added when there is a boil, there is danger of scorching and over boils, both “no-no’s” if can be avoided. The trouble shooting step is to stop the boil and add the wort while stirring the malt sugars.


     After the malt extract is added, the pot is brought back to a boil, which is the main boil for 60 minutes—at different times during this boil hops can be added for bittering, flavor and aroma. 
     Our flavoring hops (added the last 15 minutes of the boil) are pictured here below in processed pellet form, vacuum sealed in metallic astronaut-like packets.


     Hops come from a tall green vine that sprouts small green blossoms resembling little green pinecones. There are many varieties of hops you can purchase depending on what flavors you want to bring out in your brew. For the malty brown ale we’re using the “British Kent Goldings” variety of hops.


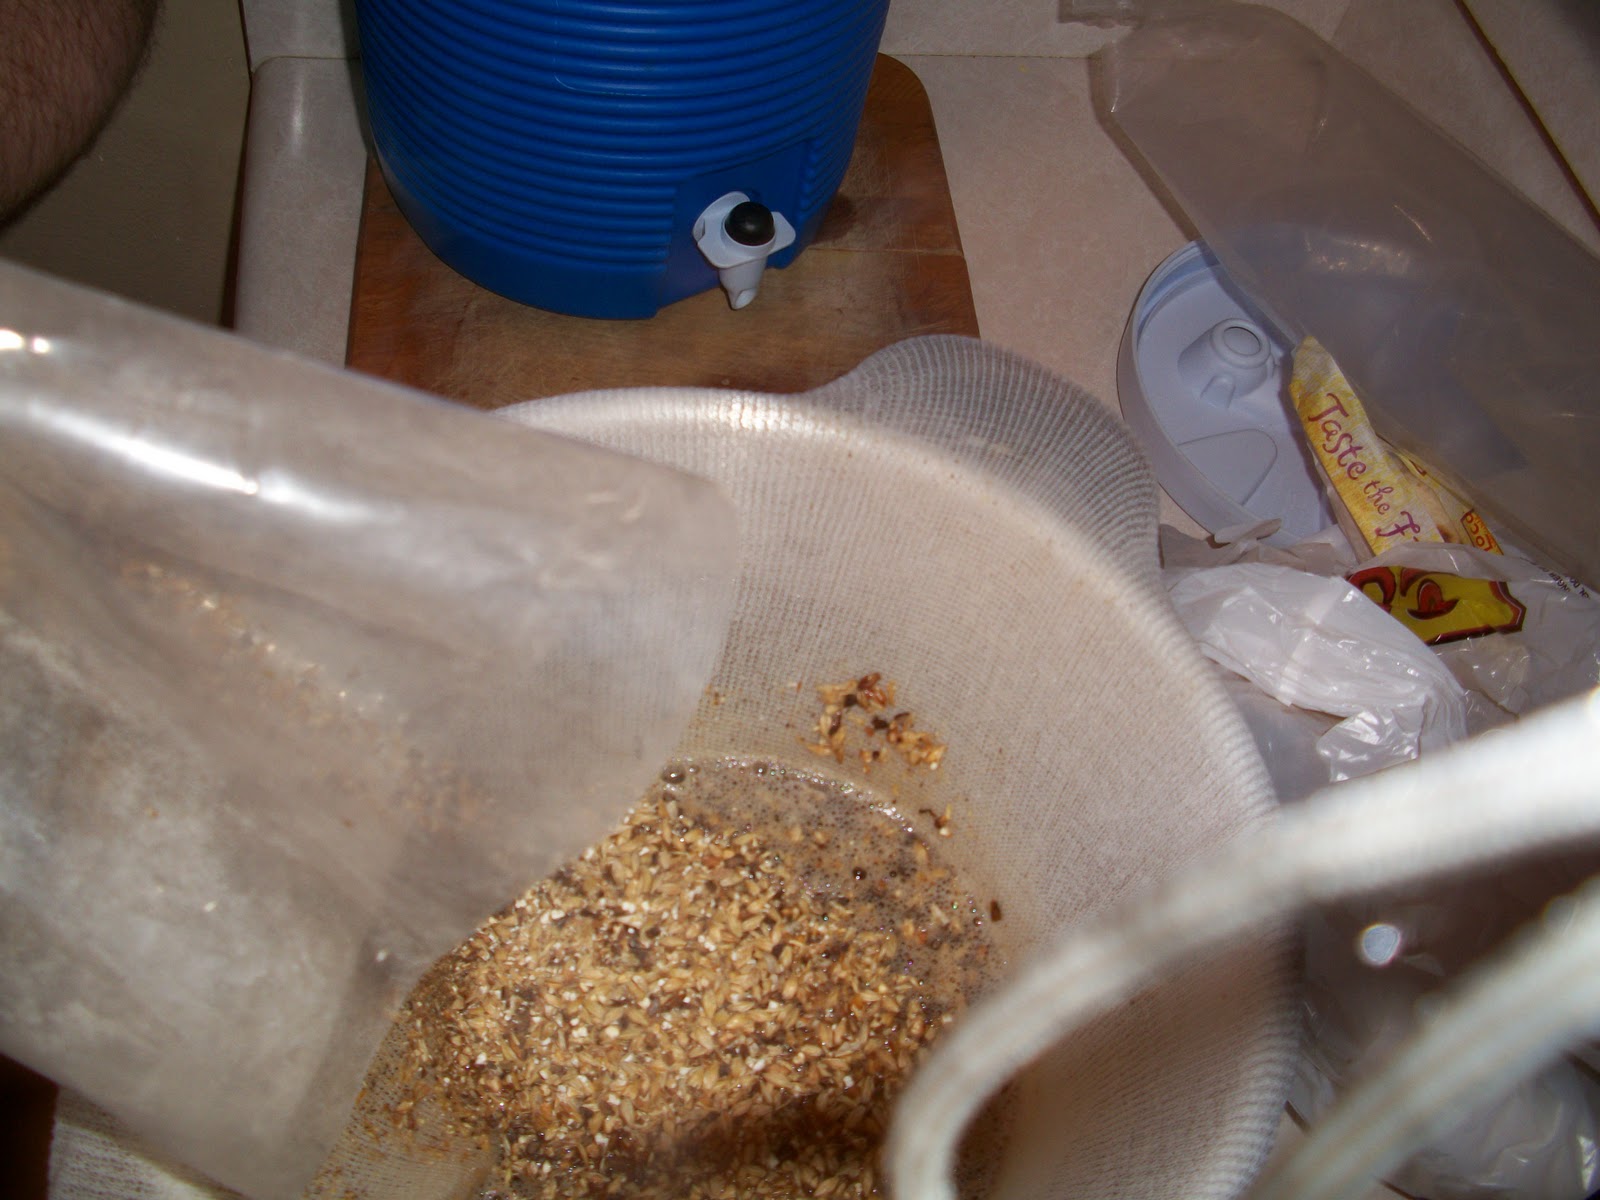
     Once the last phase of boiling is done the brew kettle must be cooled down quickly.  This is done by putting the kettle usually in the kitchen sink filled with ice.  When the kettle liquid is cooled to the correct temperature, yeast is added.  But first, the liquid must be siphoned out of the kettle into what is called a “car-boy.”  I know not why this large 5 gallon glass bottle that resembles the ones you get bottled water in is called a “car-boy,” but it is.  Unfortunately, I didn’t take any pictures of the kettle in the ice bath, or the siphoning process, because I was pretty tanked by then from all the beer tasting and I forgot to play paparazzi.  We also had to walk to the corner store for extra ice, so that further distracted me from my photo-journalistic endeavors.  But I’m betting you have a healthy imagination for the time being, and are able to picture these missing steps in your minds eye. 


     Here is our magical ingredient, yeast!  The type of yeast we’re using needs to be refrigerated, however, for this part of the process the yeast has been taken out of the fridge to reach room temperature.  It all has to do with bringing everything to the correct temperature for fermentation, the longest step of the brewing process.  This usually takes two weeks plus.  For our purposes, we waited 2 weeks until the last phase of our homebrewing--bottling!
Stay tuned for Homebrewing for Beginners Part 3, Bottling! 

Sunday, January 30, 2011

HOME BREWING FOR BEGINNERS Part 1


     http://www.howtobrew.com/intro.html
Above is a link to John Palmer's book How to Home Brew, which is an amazing amount of good, free information.  So before you go and shell out money for a homebrewing book, check this free-bee out. As I write this, I’m hoping that the efforts from the pictures above and below, yield magnificent flavor, consistent with the first home brew I made in December with my brew-pal Aron Faria.  The story behind my brew endeavors are as follows: my brew lovin’ pal Wendy says to me “we should do a home brew…”  I say “YEAH-Let’s do it!” I didn’t even conceive this was possible before she uttered the words.  Two years passed to no avail; my friend got engaged and started a family.  I found myself talking about home brewing with an acquaintance and he turned out to be a true blue home brewer!  I told him I didn’t know about what equipment was needed; he said he had all we needed for a 2 ½ gallon batch.   
Home brewing with him wasn’t as difficult a task as I thought, he knew a bit about brewing.  The first time we collaborated it reminded me of cooking: you buy all the ingredients, then go home and use the appropriate kitchen ware to make the dish--or in this case, brew.  I’ve also found that home brewing is a party.  We were beer tasting whilst making!  It became a bonding from love of beer tasting, sharing different favorite beers, trying new ones—a true love of the old school, old world craft nostalgia. 

Below are 2 pictures of the homebrew shop [http://www.homebeerwinecheese.com/] in Woodland Hills, off of Ventura Boulevard on Rigoletto Street.

I’m going to break down for you the basics of our second brewing endeavor, a British Brown Ale kit, purchased from More Beer [http://morebeer.com/], an online resource for home brewers.  Our first collaboration at home brewing was an IPA [pictured below]; I named it Aurora, for the Greek/Roman Goddess of Dawn and also the name sake of a dear friend that passed away recently.  As this is also the dawning of my brewing endeavors, the name seemed appropriate.  Before I tasted this first batch, I never knew beer could taste that good, probably because I’d never tasted a home brewed IPA like that before.  It had a deep unfiltered amber color, and to taste: balanced ruby red grapefruit citris notes and an immensely smooth, lingering hop finish.  It was my dream IPA; and it was all gone too soon.  I also loved making the labels for the bottles--the front label with the name and the back label told the story behind the beer.  After we bottle the malty brown Ale--of which pictures you are about to see “in the making.” we’re brewing the IPA again, because I need more of that “good lovin’.”


Now let’s talk equipment: basically you will be seeing some of my equipment purchased at my local home brew shop, Aron’s gallon cooler and a turkey fryer I bought at Sears on sale after Thanksgiving for $49.99 including the burner!  Turkey fryers are perfect set-up pots that can do a double batch because they can take 7 ½ gallons (30 quarts) and it comes with a burner, you just have to buy a propane tank.  Below is the turkey fryer in action during the last brewing phase.

Basically brewing is a simple process with potential for fancy innovations on flavor. And if you live near a home brew shop, usually the people in that home brew shop will be able to give you free advice on brewing.  Even if you don’t live near a home brew shop there are plenty of online home brew shops to order from and call for free advice. 

The picture above is Aron taking the water temperature to see if its ready for the grain mini-mash.  The temperature at this point of the process should be within a certain range to get the proper “steep” from the grains.  It’s like brewing tea.  Pictured below the grains are being put in the cooler with the stretched grain bag around the mouth of the cooler to catch the grains, making the tea bag effect.  What you get when the water filters through the grains is called “sparging.”  The sparge is like the tea from brewing the grains, only what you get is sugars from the malt and barley for the yeast to feed on.  I'll explain yeast later.  Not all beers have this first “mini-mash” step but our “malty brown ale” does.